Showing posts with label Patterns. Show all posts

Wednesday, July 7, 2021

Patterned ring

 When I did my collaboration with Courtney I wasn't sure how to mark out her design on the wax rings so I did this ring as a test with my photocopied leaf skeleton pattern.  I forgot about this ring but I recently came across it and realised I still want to finish it for my portfolio.

Bowes, K., (2021). Marking the patter

Bowes, K., (2021). Pattern marked out on the wax
Bowes, K., (2021). The ring just cut off the wax tree

Sunday, June 13, 2021

Monday, August 3, 2020

Platinum texture II

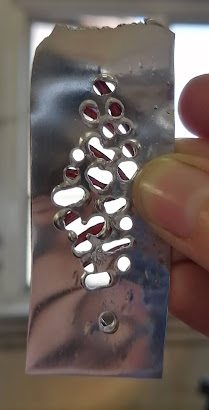
Melting the pattern/texture in platinum was in some ways different and the same as melting silver.  The platinum doesn't texture like silver does but it does bubble, like silver which was surprising. That means I need to forge the claws before trying to set them like I did with the silver otherwise they might break off.

The interesting thing about melting the platinum was in silver I drilled two holes and pierced between them to melt the longer holes, but this did not work in platinum. In the platinum, it just melted one hole and fills the second drilled holes. For me to melt elongated holes I had to push the metal with the hot flame.

I first thought I was overdoing it with the number of holes but once I finished and placed the enamel over it, I am very happy with it. This would set off anyone that has Trypophobia (the fear of clustered holes, bumps, or patterns).

Bowes, K., (2020). Enamel over the texture.
Bowes, K., (2020). Enamel viewed from the back.

Sunday, July 19, 2020

Claws

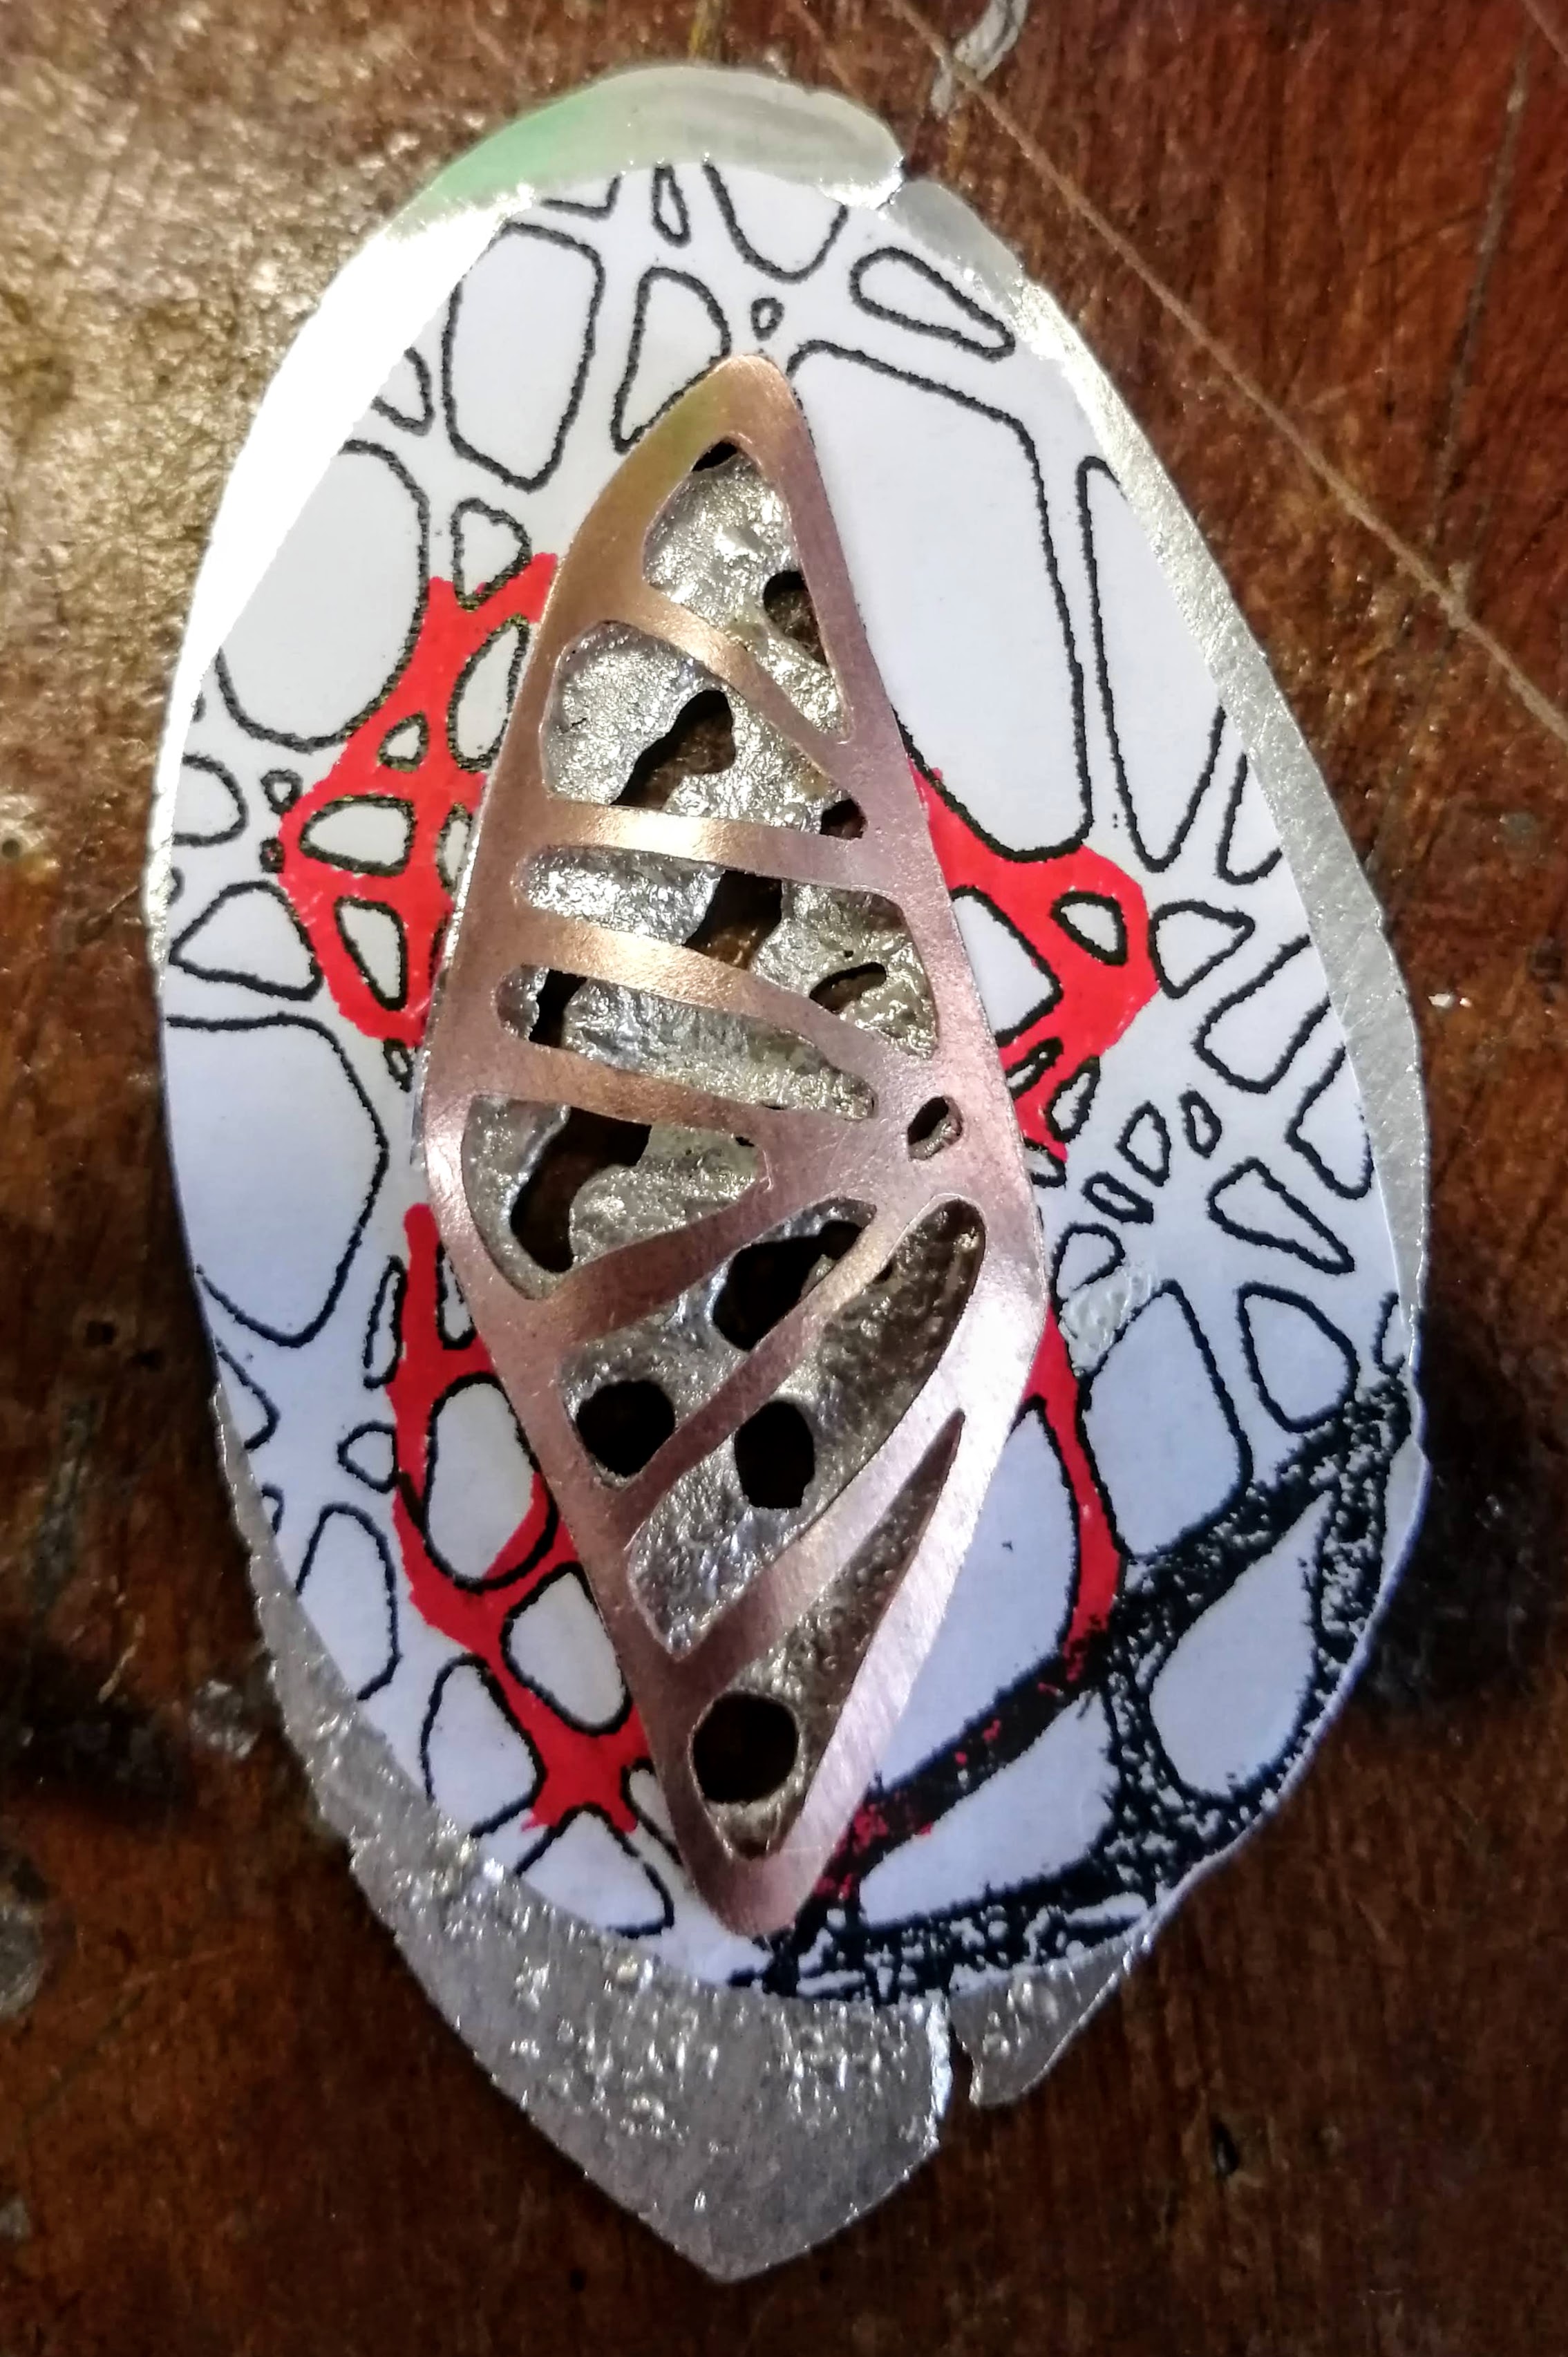
I continued the pattern from the copper (Fig.1) to cut claws that will hold the enamelled copper (Fig.2). I am not sure how the claws would look set though so I bent up the claws to see how it would look. I think the claws are a bit too large and need to fit in more with the enamel pattern. I used Art flow to draw on a photo of the enamel piece as to where claws would be placed to fit with the pattern, as seen in figure 3. This means the claws will be small and will not so overpower the enamel.

Figure 1- Bowes, K., (2020).extending the pattern.
Figure 2-Bowes, K., (2020). cut claws.

Figure 3- Bowes, K., (2020). digital drawing of claws.

Wednesday, July 15, 2020

Process

I made my fly press die and forgot that if the shape is not symmetrical that the shape will be mirrored (Fig. 1). This meant that I had to mirror my pattern drawing so that I could stick the image on the metal and use it as a guide for piercing. 

Figure 1-Bowes, K., (2020). die, cut out from the die and fly pressed copper.

I then started with the melted texture on the silver. I traced around the copper fly press shape so that I left space for the claws to be cut out. I drilled holes and melted the holes; my flame was a bit too harsh, so they melted quickly, and it only textured a bit. I thought that it might be the plate thickness so I tried again with a plate the same thickness as the texture test. I used a smaller, more controlled flame, so the holes were smaller but I still did not get as much texture. I think this is because the test was done on a domed plate and not a flat plate. 

Figure 2-Bowes, K., (2020). first and second textured plate.
Figure 3-Bowes, K., (2020). Dome over the textured plate.

Changes: try to add more small holes to the second plate and make the veins on one of the copper domes thinner to see how it looks if more silver is revealed underneath. Also, I must not forget to leave space for the tube and catch to be soldered on the back for the brooch.


Monday, July 13, 2020

Three-dimensional experiments

After seeing Michael Kukla's work and the gluten network that forms in Sourdough, as seen in figure 1. I knew I wanted to try to make my abstract pattern more three dimensional.

Figure 1- Gluten network in Sourdough
  https://www.reddit.com/r/Sourdough/comments/hi2dkc/my_pizza_dough_this_morning/?utm_source=share&utm_medium=web2x

I wasn't sure how I was going to make it three dimensional but then I realized The gluten network almost looks like strands of glue so I thought I could try using my glue gun to get the same effect. I first tried using a lot of glue and pressing a piece of plastic into the glue and pull the plastic to create strings but the glue pulled in a sheet which just created a mess. 
My next option was to try to draw the pattern as if my glue gun were a 3D printer. My first attempt, figure 2, I drew with the glue on a plastic surface then peeled it off and drew random hatching lines on either side of the base to make it fuller and almost nest-like. My second attempt I placed my abstract pattern under the plastic so I could use it as a guide to creating my base which I then peeled off the plastic and added more glue/patterning to the front and back of the base(Fig.3).

Figure 2-First attempt
Figure 3- second attempt 

Tuesday, July 7, 2020

Voronoi Tessellation

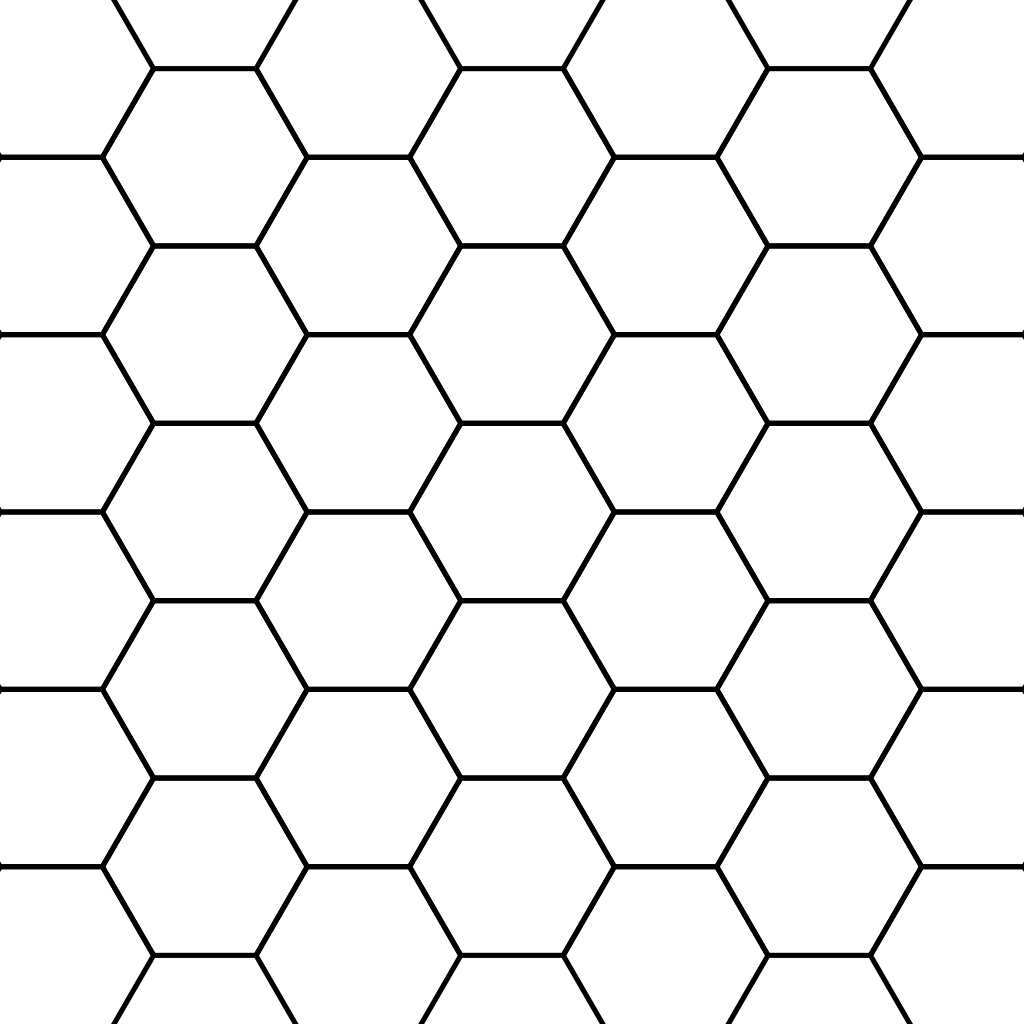
Tessellations/tiling are shapes that are arranged, without overlapping or gaps, and closely fit together. A common example of this is honeycomb hexagons as seen in figure 1.
Figure 1- Hexagon tessellation
https:/i.pinimg.com/originals/14/1a/1d/141a1d46a2a59db914d16f48b86d72d1.png  

Voronoi Tessellation is a mathematical technique that forms irregular tessellating. The simplest way to describe it that I understand is a Voronoi is a diagram where dots are placed on a plane and each dot has a colour. The colours move out from the centre and where two colours meet a boundary is placed. Thus an irregular tessellation pattern is formed. 
I did not understand the definitions on the internet until I found a Voronoi diagram generator which made a lot more sense, http://alexbeutel.com/webgl/voronoi.html

Voronoi Diagram
https://upload.wikimedia.org/wikipedia/commons/thumb/5/54/Euclidean_Voronoi_diagram.svg/220px-Euclidean_Voronoi_diagram.svg.png

These irregular patterns are quite common in nature. They are found in many different places, for example, the venation of an insects wings and the spots on a giraffes fur. My abstract pattern visually resembles these Voronoi tessellations without the mathematical aspect.  

Dragonfly wings
https://static.scientificamerican.com/blogs/assets/Image/Butterflies(1).jpg 
Giraffe fur
https://static.scientificamerican.com/blogs/cache/file/EDBC5D79-80D3-4B7E-862DDD150B7A1627_source.jpg?w=590&h=800&B1BA11D5-AE93-41FB-9CC3DDE1C965EE5E 


Wednesday, July 1, 2020

Subconscious influences

During the lockdown, I did my doodles and the one pattern I have been using in my work has been bothering me as subconsciously as I had seen something similar somewhere. I finally figured it out there are two places I have seen this type of pattern before. 

The one is this beautiful tree that I have walked past thousands of times in my area (Fig. 1). It is actually two trees (I am not sure what trees they are) the original tree has very rough bark and the symbiotic tree is smoother in texture. The smoother tree has grown around one side of the main trunk of the original tree.

The second place I have seen an abstract pattern like my doodle is back in biology. The centre of most bones especially long bones has a spongy tissue, and this is where marrow is found. All bones are porous but the spongy tissue has larger gaps and if a person has osteoporosis the gaps are even larger. 

Figure 2-Unknown. (n.d.). Biological diagram of bone

Figure1 -Bowes, K., (2020). Intertwining trees.

Wednesday, June 24, 2020

Abstract pattern

This was another doodle page I did during the lockdown and between the three I enjoyed drawing this one the most and this page was purely for enjoyment. I feel there is more variety of shapes and size compared to the triangle and bubble doodle pages. It reminds me of the nervous system program once the grid has been manipulated but it's not all circles and looking at the positive and negative shapes it also sort of resembles the venation patterns found in insect wings but with thicker lines between the segments. 

I wasn't sure what I was going to do with the pattern so I photocopied it and sectioned off small parts of which I then coloured with pencil crayons thus making the positive and negative spacing clearer. I used different colours as I was planning on choosing a colour to colour the entire A3 page, just for fun, but ended up forgetting about it entirely until I saw the page with the coloured circles last week and realized they looked almost like abstract enamel discs which could be interesting.

Coloured segments
A3 doodle page

Tuesday, May 12, 2020

CAD drawings

Some CAD drawings using my doodles to stay in practice and to pass the time.


More doodles

A doodle inspired by my bubbles.  
My meditation during the lockdown.

Monday, April 20, 2020

Bubbles or cells

I wanted to find another way to make patterns similar to those in the photomicrograph but I didn't want the pattern to be geometric like the triangle doodles. Then I saw a photograph that Amy Pieterse took of some bubbles, Figure 1, and it resembled cells so I decided to play with some bubbles. I filled a plastic container with water and dishwashing liquid I added in some red ink, because that's all I had, so the lines between the bubbles are more defined as seen in Figure 2. I used a straw to blow air into the mixture to generate bubbles. I tried to put the bubbles onto paper but it just soaked into the paper and made a mess. The bubbles on the plastic spoon were very interesting as the bubble was basically invisible leaving only the lines where the bubbles touch on another. I wanted the lines to be a bit stronger so I added some black drawing ink, Figure 4, so the contrast between the bubbles and spoon will make it easier to see the "cells".

Figure 1- Pieterse, A.(2020). Bubbles
https://www.instagram.com/p/B-1L_23F0W0/
Figure 2- Bubbles on a plastic spoon


Figure 3- Red bubbles
Figure 4- bubbles with added black ink


Triangle embroidery progress

I tried to do a pattern with circles but I ended up trying to make all the circles perfectly round and I found it difficult to work with. The triangles fit together like a puzzle and I can use different types of triangles(equilateral, isosceles and scalene). The pattern was natural to draw because I used to do triangle doodles like this in school but instead of drawing on paper, I used to draw on my skin like my left hand or my knees. I chose the complementary colours so that the orange would stand out against the blue fabric.
Bowes, K., (2020). Abstract embroidery.


Monday, April 13, 2020

Doodles

I spent a whole day during the lockdown doing mindless doodles to pass the time. Once I was done, I filled the page, I thought it would be interesting to embroid all of the negative spaces between the triangles. I drew the pattern again onto some of the scrap fabric I have been using for embroidery. I use a fine liner that will wash out of the fabric when I am done so there will be no black lines left once it is done. I chose adjacent orange colours (yellow-orange, orange, red-orange) or as close to them as I could get with the thread I have on hand. I chose these colours as orange is the complementary colour to blue and the fabric is a light denim blue. Working with three colours is better than working with one as it can be boring and three colours will make the thread go further. I didn't draw the whole pattern because I don't fill the embroidery ring to the edges I want to draw as I embroid; I love the irregular shape the whole pattern makes naturally. The thread makes the triangles lose their ridged geometric look, even if the threads line up perfectly the sides of the triangles aren't smooth because I am stitching horizontally.

Figure 1- Bowes, K., (2020). Drawing of the triangle pattern.

Figure 2- Bowes, K., (2020). Triangle pattern embroidered.


Sunday, April 12, 2020

Leaf photomicrographs

When I was playing with the Nervous System program, Radiolaria, to create my own patterns it reminded me of photomicrographs of a plant's leaf, root and stem. The photomicrograph images were taken from my high school biology notes.
Nervous System. (n.d.).Radiolaria. My pattern from the Nervous System program

Bowes.K.own photo (2020).Photomicrograph notes


Monday, March 30, 2020

Nervous system program

On the Nervous System website, they have access to a program so that their customers can make their own custom pieces for purchase. The one program Radiolaria works by giving a plain grid in which you have tools to manipulate the grid in different ways.
Figure 4 shows how I manipulated the grid and figure 5 shows the grid without the manipulation points. It also shows how your piece will look as a completed jewellery piece; you can also change the placement of the hook.
 Figure 6 shows a piece of jewellery Nervous Systems made that used the Radiolaria program. I searched for the program that allows them to digitally grow venation (xylem) patterns but their program for growing xylem patterns is unavailable to the public.

Figure 4- Nervous System. (n.d.).Radiolaria.My manipulation points on the grid

Figure 5 -Nervous System. (n.d.).Radiolaria Grid without the points
Figure 6-Nervous System. (n.d.) Radiolaris bracelet, Silicone rubber 


Nervous system

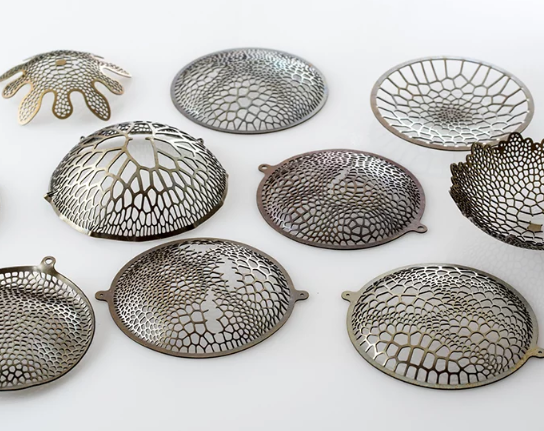
Nervous System was founded by Jessica Rosenkrantz and Jesse Louis-Rosenberg in 2007. They use their own written programs and technology to replicate growth patterns in nature like cellular mitosis and xylem patterns but done on a computer. They use techniques such as 3D printing, laser cutting and etching to create their designs depending on the materials. Nervous System designs jewellery, lighting, houseware and puzzles. 

Here, I have included some examples of their jewellery work and methods used. The rubber that they use is laser cut as seen in figure 1 but the brass in their work is photochemically etched. The designs have to be precise so they can tolerate the forming process, in which a hydraulic press is used, figure 2. Figure 3 is an example of a xylem pattern that they generated with their program that has been translated into a piece of jewellery.


Figure 1-Rosenkrantz, J.Louis-Rosenberg, J.,(n.d.). CrenulateLasercut rubber necklace and bracelet
Figure 2- Rosenkrantz, J.Louis-Rosenberg, J., (n.d.).Prototypes to test design for the forming process

Figure 3-Rosenkrantz, J.Louis-Rosenberg, J., (n.d.)  Xylem Brooch, etched leaf venation 


Friday, March 20, 2020

Vina Rust

 Rust, V. (2006) Stained cell series
 Rust, V. (2004) Sprout

This is some pieces from a body of work by Vine Rust where she looks past the surface of botanical structures. She uses illustrations and photomicrographs as inspirations. Cellular structures draw Rust in as the structures show variation in logical patterns. Her influences show a common thread of observations of nature and the appreciation of the tension between menace and beauty that are found in nature.


I really love her work it is so interesting because it looks like a slice of a cell and all the patterning is made from what looks like a bunch of individual tubes. It reminds me of filigree where they make the wire place it in the frame and then solder the wires in, I feel like she possibly uses the same process but instead of wire, she uses tubes which adds depth. I love the positive and negative spaces that the patterns and design make as to me it makes the jewellery look as if it's lightweight.

 Rust, V. (2008) Stained cell series
 Rust, V. (2004)  Stamen Series


https://www.flickr.com/people/verust/


Friday, March 13, 2020

Stencil?


I really enjoyed piercing this pattern out. One of the small sections broke though, as the metal is thin and I dropped my saw frame with the blade and piece still attached.
I'm not sure what I am going to do with it yet, I am thinking if I should enamel it or use it as a stencil. So because I can't make my mind up I decided to pierce another one. 

Wednesday, March 11, 2020

Patterns in nature

Trees and forest ecosystems will have fractal patterns in trees, leaves, branches and ferns.
https://www.diygenius.com/fractals-in-nature/

Flowers can grow in different patterns to attract bees
https://www.diygenius.com/fractals-in-nature/

Growth Spirals can be seen as a fractal pattern but some also follow the Fibonacci Sequence. The Fibonacci Sequence is also known as the golden spiral the sequence goes 1,1,2,3,5,8,13,21,34
https://www.diygenius.com/fractals-in-nature/
Fibonacci sequence
https://d3i71xaburhd42.cloudfront.net/04609e8a2df51d345f21ff0dfacdf510752c0dc6/1-Figure1-1.png